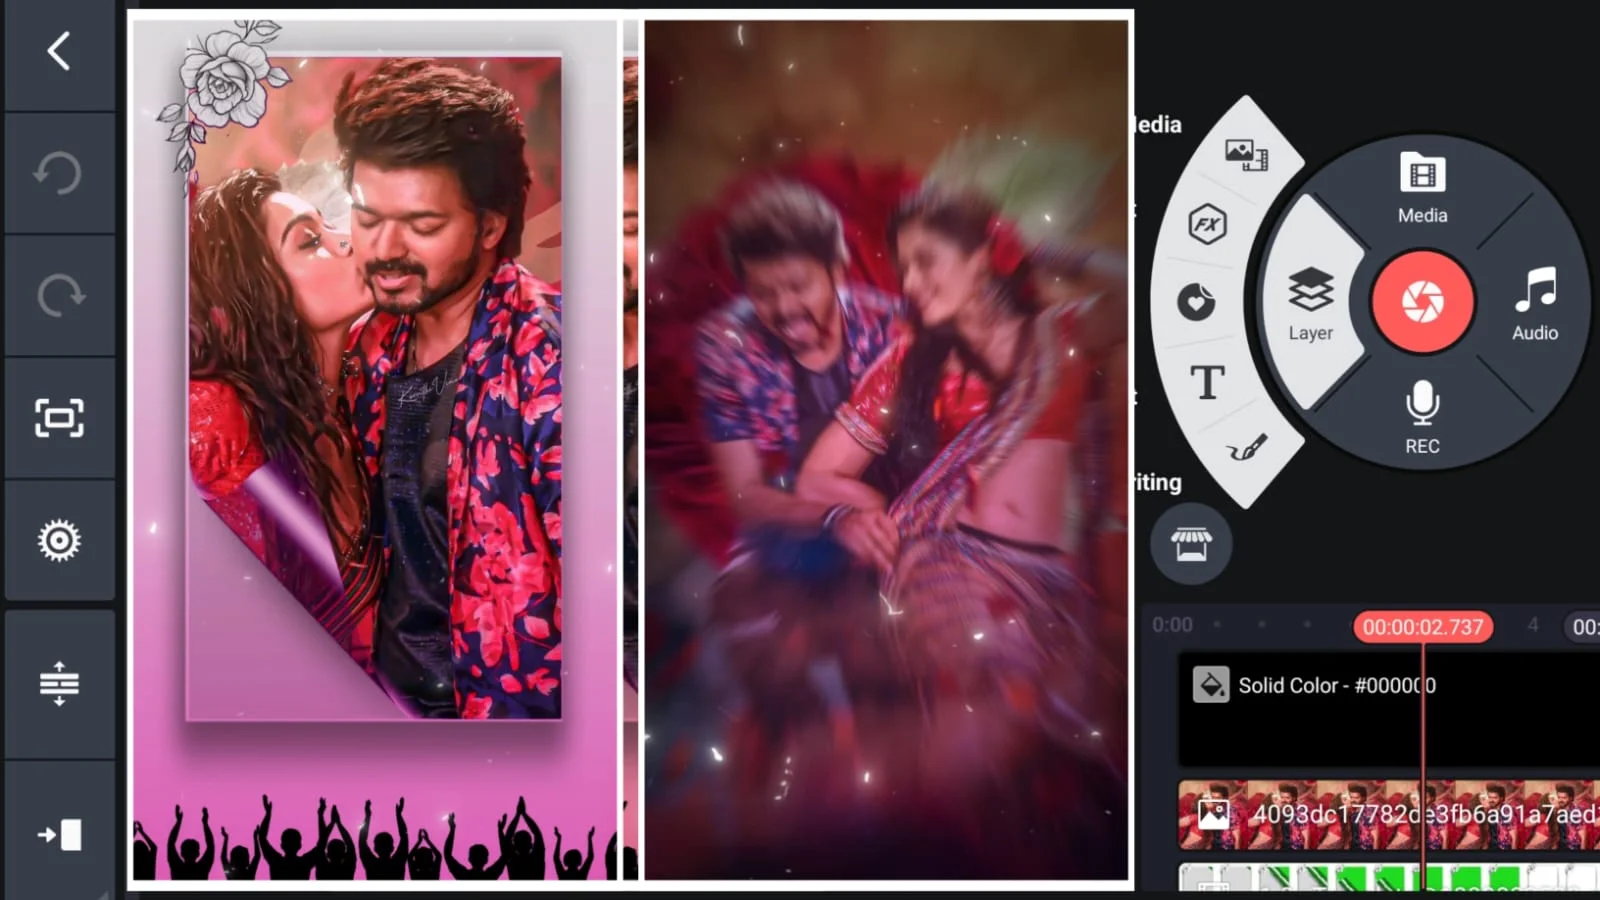
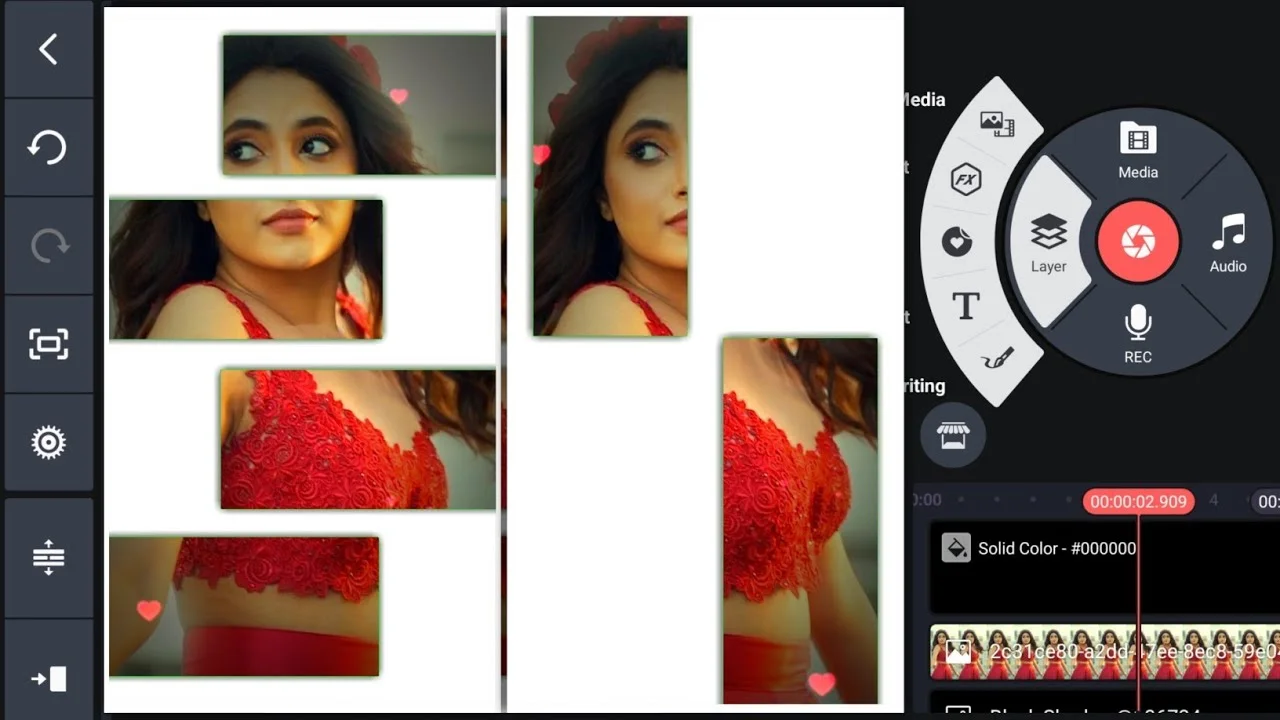
We will start by guiding you through the process of downloading and installing Kinemaster on your device. Following that, we’ll take you step-by-step through initiating your first video project, employing various editing techniques within Kinemaster to enhance your video, and finally, how to export and share your creation with the world. Whether you’re aiming to produce content for social media, work projects, or personal enjoyment, our tutorial is designed to demystify the video editing process, making it accessible and manageable for everyone.
Downloading and Installing KineMaster
To kick off our journey with KineMaster, the first step is to get the app onto our devices. Let’s break down this process into manageable chunks. Open the app store on your mobile device. This could be the Google Play Store for Android users or the App Store for iOS users. Once you’re in the app store, move on to the next step, which involves finding KineMaster. Tap on the search bar at the top of your app store’s interface. Type “KineMaster” into the search bar and press the search button. You should see KineMaster appear in the search results.
[adinserter block=”1″]
Install and open the app
Find KineMaster in the search results and tap on it to go to its app page. On the app page, you will see an “Install” or “Get” button. Tap on it to start the download and installation process. Wait for the app to download and install on your device. This may take a few moments depending on your internet connection. Once the installation is complete, tap “Open” to launch KineMaster for the first time. By following these steps, we’ve successfully installed KineMaster on our device, and we’re ready to dive into the world of video editing.
Initiating Your First Video Project
After successfully installing Kinemaster on our device, we’re now ready to embark on creating our first video project. This step is crucial as it lays the foundation for our video editing journey.
Choosing New Project
Upon opening Kinemaster, we’re greeted with a straightforward interface. To start, we tap on the large plus icon in the center of the home screen. This action prompts a new project to open. On iOS devices, a new empty project opens immediately, while on Android, we have the option to start with an empty project or use the Project Assistant for guided editing.
[adinserter block=”2″]
Selecting the Aspect Ratio
After choosing to start a new project, a popup window appears, asking us to select the video dimensions. It’s important to choose the aspect ratio that best fits the platform where the video will be shared. Kinemaster offers several aspect ratio options, including 16:9 for YouTube, 9:16 for Instagram stories, and 1:1 for platforms like Instagram posts. We select the aspect ratio based on our video’s intended platform and content style.
Importing Media Files
With our project created and aspect ratio selected, it’s time to import our media files. We tap on the ‘Media’ button to access the media browser section. This section displays folders containing videos and images on our device. We navigate to the desired folder, select the videos or images we want to edit, and tap the checkmark to import them into our project.
By following these steps, we’ve successfully initiated our first video project in Kinemaster. Our media files are now ready for editing, allowing us to proceed to the creative phase of adding effects, text, and transitions to our video.
Editing Techniques in KineMaster
Trimming and Splitting Video Clips
Select Your Video on the Timeline: We begin by choosing the video clip we wish to edit. By tapping on the desired video, it becomes active for editing.
Use the Scissors Tool: To trim or split, we select the scissors icon. This allows us to either trim from the left or right of the playhead or split the video at the playhead’s current position.
Fine-Tuning: For precise editing, we can zoom into the timeline by pinching out with two fingers. This enables us to trim or split down to the hundredth of a second, ensuring our edits are as accurate as possible.
[adinserter block=”3″]
Adding Transitions and Effects
Locate the ‘Layer’ Icon: In the timeline, we find the ‘Layer’ icon and select ‘Transition’ from the available options.
Choose a Transition Effect: KineMaster offers a variety of transitions like fade, slide, wipe, and dissolve. We pick the one that best suits our video’s style.
Adjust Transition Duration: By dragging the edges of the transition layer in the timeline, we can make the transition longer or shorter according to our preference.
Preview and Fine-tune: It’s important to preview the transition to ensure it fits seamlessly into our video. If necessary, we can adjust the duration or change the effect.
Incorporating Text and Audio
Adding Text: To add text, we tap on the ‘Layer’ icon, select ‘Add Text’, and type our message. KineMaster allows us to customize the font, size, and color.
Animating Text: For dynamic text, we tap the ‘Animate’ icon and choose from various animation effects.
Adding Audio: By tapping the ‘Audio’ icon, we can select and add background music or sound effects. The volume and timing can be adjusted to align with our video content.
Using Advanced Features like Chroma Key
Selecting a Green Screen Video: After importing our green screen footage, we tap on the ‘Layer’ option and select the video.
Applying Chroma Key: In the editing menu, we find and enable the ‘Chroma Key’ option to remove the green background.
Fine Tuning: If any green spill remains, we use the slider controls for detailed adjustments, ensuring a clean and seamless background replacement.
By following these steps, we can effectively utilize KineMaster’s robust editing features to create professional-looking videos. Whether it’s basic trimming and splitting, adding dynamic transitions and effects, incorporating text and audio, or using advanced techniques like Chroma Key, KineMaster equips us with the tools needed to bring our creative visions to life.
[adinserter block=”4″]
Exporting and Sharing Your Video
Once we are satisfied with our video edits, the next step is to prepare for the export. This phase is crucial as it converts our project into a standalone video file, ready for sharing or uploading.
Choosing Export Quality and Format
Exporting our video in KineMaster involves selecting the appropriate quality and format. We need to consider several factors such as video resolution, frame rate, and bit rate, which directly affect the quality and size of our final video file. Common resolutions include 540p and FHD 1080p, and frame rates typically range from 25 to 30 FPS for smooth playback. The bit rate, which dictates the video’s data transmission speed, can be adjusted to balance quality and file size. For most platforms, setting the resolution to FHD 1080p, the frame rate to 30 FPS, and the bit rate around 8 to 12 Mbps provides a good mix of quality and efficiency.
Conclusion
Through this extensive tutorial, we have journeyed together from the initial steps of downloading and installing Kinemaster, to diving deep into the myriad of video editing features it offers, and finally, to exporting and sharing your masterpiece. Each section, meticulously crafted, aimed to demystify the complexities of video editing, making it accessible and manageable for users at any skill level. By now, you should feel confident in navigating Kinemaster’s interface, harnessing its powerful editing tools to enhance your videos, and sharing your creations with the world, whether for professional purposes, social media engagement, or personal enjoyment.
[adinserter block=”5″]

